If you have a current macOS version, e.g. Ventura, then you can convert JPEG, PNG and other image formats to HEIC quite quickly in Finder by right-clicking on the image and clicking “Convert Image” under “Quick Actions”. So far, so good.
However, it is not possible to convert the images to lossless HEIC. With lossless HEIC, the existing quality is retained and in most cases you still save a lot of storage space for the images. Anyway, we can easily do that ourselves by creating our own quick action for it.
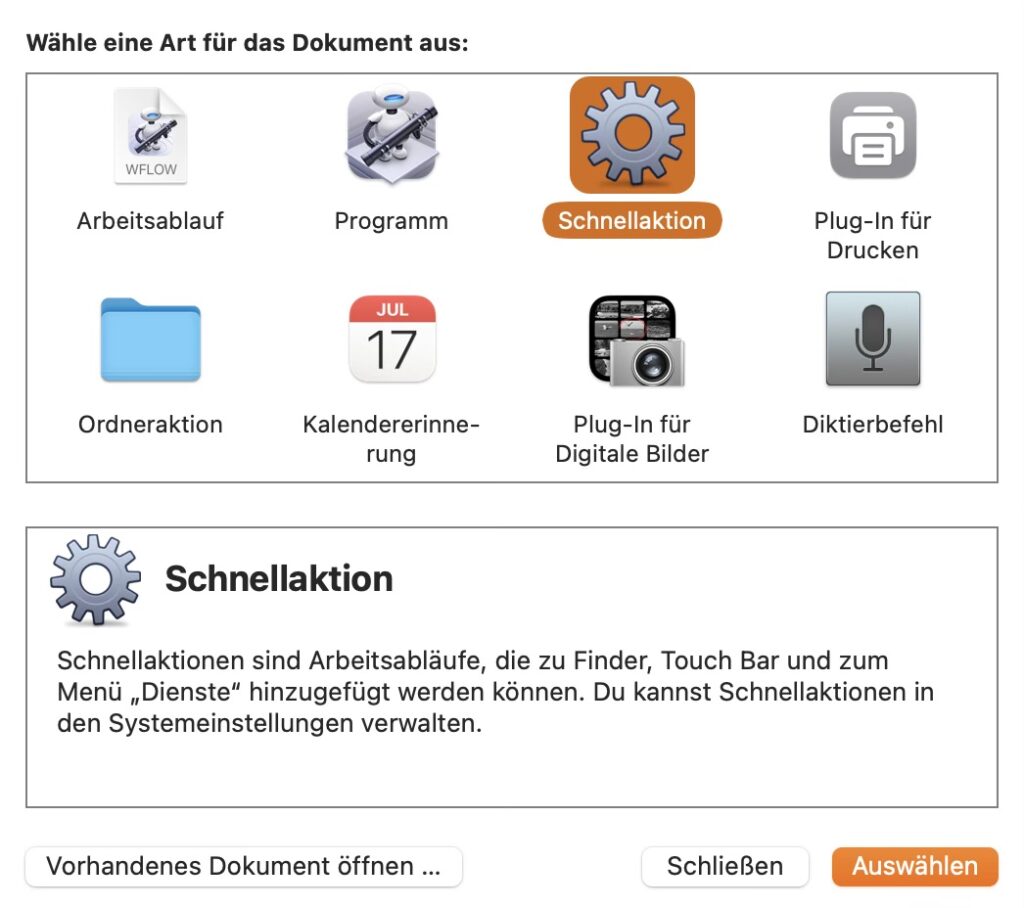
To do this, open Automator, create a new document and select “Quick Action” in the dialog that appears.
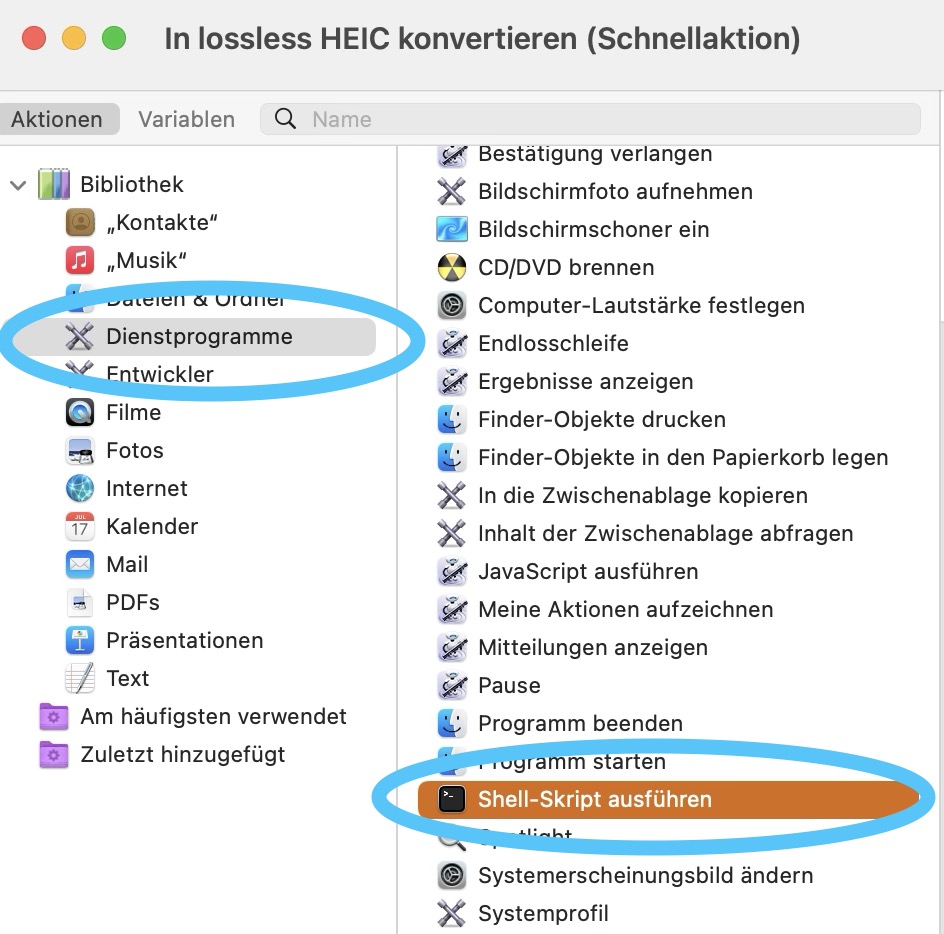
From the “Utilities” section, select the “Run Shell Script” action and drag it to the empty area on the right.
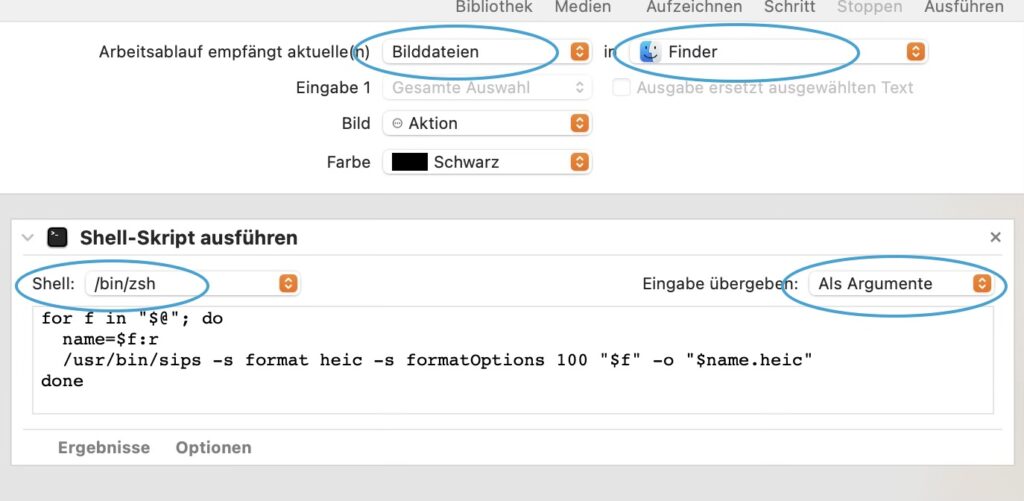
Then set “Workflow receives current” to “Image files” in the top right corner and to “Finder” for “in”. Now we come to the actual script. In the window there you first select “/bin/zsh” for Shell and enter “As arguments” for Pass input and then delete the entire text that appears below. Then replace it with the following small script.
for f in "$@"; do
  name=$f:r
  /usr/bin/sips -s format heic -s formatOptions 100 "$f" -o "$name.heic"
done
This is what the result looks like.
Now all you have to do is save the whole thing and name it something like “Convert to lossless HEIC”. If you now select an image file in Finder and right-click on Quick Actions, you can select the Quick Action you just created and the image is converted to HEIC format.
0 Comments